You’ll start by choosing a pump that matches your tub’s flow and head requirements, then plan the plumbing route and gather corrosion-resistant fittings and tools. Prep the site so the pump sits level with good drainage, connect the intake, strainer, and return lines, and make safe, code-compliant electrical hookups. After pressure-testing for leaks and verifying flow, you’ll commission the system and set a maintenance schedule — but there’s one critical check you shouldn’t skip.
Key Takeaways
- Size and select a pump whose flow rate and total dynamic head match your tub volume and desired turnover time.
- Plan a short, direct plumbing run with correct pipe diameters and corrosion-resistant fittings to minimize head loss.
- Mount the pump on a level, vibration-isolated pad with clear access and adequate ventilation for maintenance.
- Wire the pump to a GFCI-protected circuit, properly ground it, and follow local electrical codes or hire a licensed electrician.
- Fill the system, run the pump while inspecting joints for leaks, verify flow rate, and test controls and safety cutoffs.
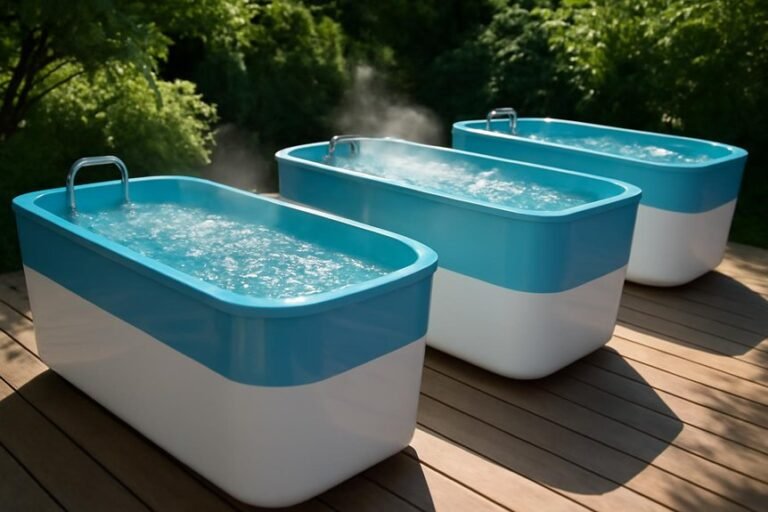
Choosing the Right Pump for Your Cold Plunge
When selecting a pump for your cold plunge, start by matching the pump’s flow rate and head height to the size and layout of your tub, because a mismatch will leave you with poor circulation or excessive energy use. You’ll want a pump that delivers steady turnover to keep temperature and cleanliness consistent, so check gallons-per-minute and the required head for your planned plumbing. Choose corrosion-resistant materials, like stainless steel or high-grade plastic, for longevity in cold, wet conditions. Look for energy-efficient motors and variable-speed options to control flow and reduce running costs. Also consider noise levels, warranty coverage, and ease of maintenance; a pump that’s accessible and serviceable will save time and frustration later on.
Sizing and Planning the Plumbing Layout
Although it might feel tempting to rush into buying parts, you should first calculate flow requirements and map the plumbing run to confirm efficient circulation and minimal head loss, because a carefully planned layout prevents common issues like insufficient turnover or oversized piping that wastes energy. Start by determining desired turnover rate — how many times you’ll circulate the plunge volume per hour — then convert that to gallons per minute to size the pump and pipe. Sketch the shortest practical route, noting elevation changes and fittings; every elbow and rise increases head loss. Choose pipe diameters that keep velocity moderate to avoid noise and drag, and place unions, valves, and access points for maintenance. Finally, verify total dynamic head against pump curves to confirm reliable operation.
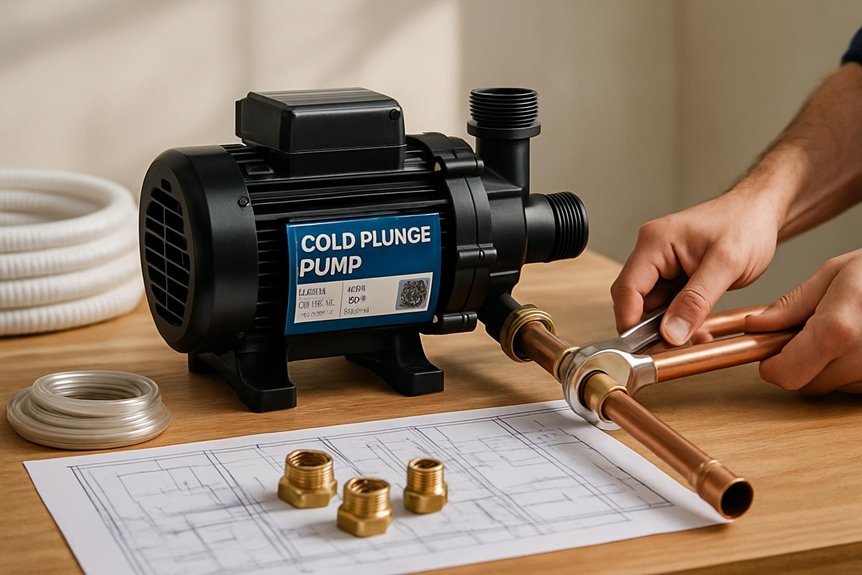
Gathering Tools and Materials
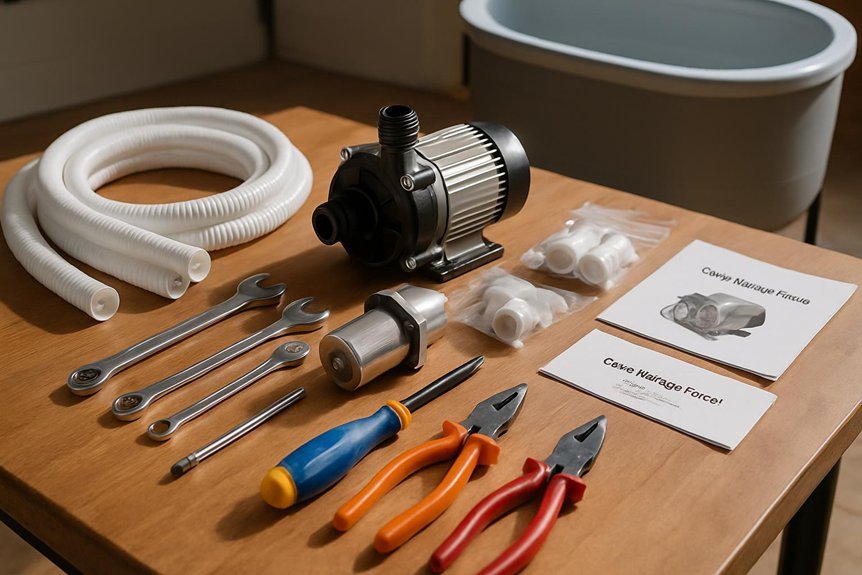
Gathering the right tools and materials before you start will save time, prevent mistakes, and make installation smoother, so take an inventory and double‑check specifications against your plumbing plan. You’ll need the pump itself, fittings matched to your pipe type and diameter, unions or quick‑disconnects for serviceability, and appropriate valves — ball or gate as specified. Include pipe sealant or PTFE tape, solvent cement for PVC, or compression fittings for CPVC/PEX. Prepare electrical supplies: a GFCI breaker or outlet, suitably rated cable, conduit, and a weatherproof disconnect if required. Have mounting hardware, vibration isolators, and rubber pads ready to reduce noise. Finally, gather safety gear — gloves, eye protection, and a multimeter — so you can work confidently and safely.
Preparing the Plunge Site and Tub Connections
Before you set the pump, make sure the plunge site is perfectly level and has a reliable drainage path so water won’t pool around the tub or equipment. You’ll also want to plan your plumbing runs and select the right fittings, balancing rigidity and flexibility to accommodate connections and future maintenance. Taking time here will save you headaches later, ensuring a safe, efficient installation and easy access for service.
Leveling and Drainage
Leveling and proper drainage are critical to a reliable cold plunge installation, so you’ll want to prepare the site carefully to avoid water pooling, pump strain, and premature tub wear. Begin by confirming the tub sits perfectly level front-to-back and side-to-side; use a long level and adjust the base with compacted gravel, paving stones, or adjustable feet to distribute weight evenly and prevent stress on the shell. Grade the surrounding ground to slope away at least 1/8–1/4 inch per foot, directing runoff to a safe discharge point or soakaway. Install a slightly depressed drain pan or gravel-filled trench beneath the tub to catch occasional leaks and channel them away. Finally, test with water, observe for pooling, and re-level if you notice any standing water.
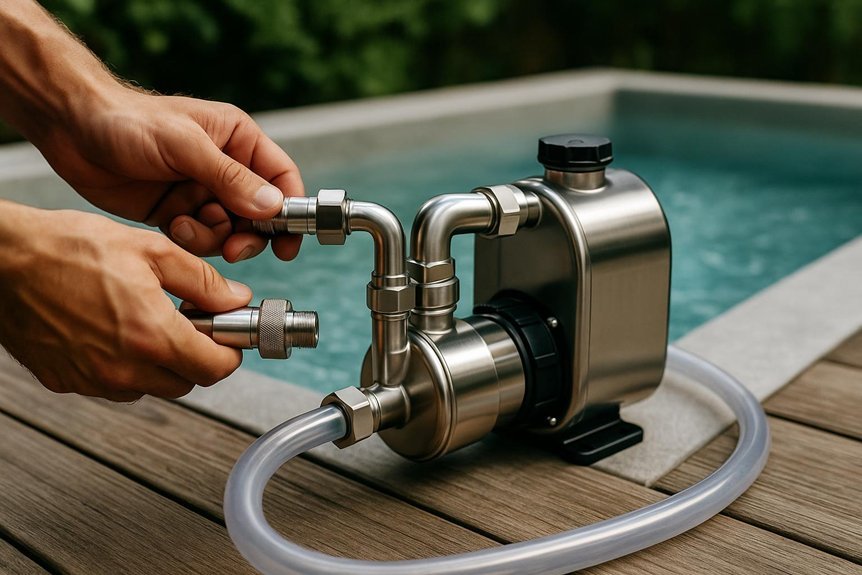
Plumbing and Fittings
With the tub set level and drainage confirmed, you’ll next prepare the plumbing and fittings so water moves efficiently and the pump operates without strain. Start by mapping inlet and outlet positions, then choose rigid PVC or flexible, UV-resistant hose rated for your pump’s flow and pressure. Install ball valves on both lines for isolation during maintenance, and use union fittings where you might disconnect the pump. Apply primer and solvent cement for PVC joints, or use properly sized hose clamps for barbed fittings, ensuring leak-free seals. Slope drain lines slightly toward the drain to avoid traps that hold water. Finally, pressure-test the system at operating pressure, inspect every joint, and address drips immediately to protect pump life and maintain performance.
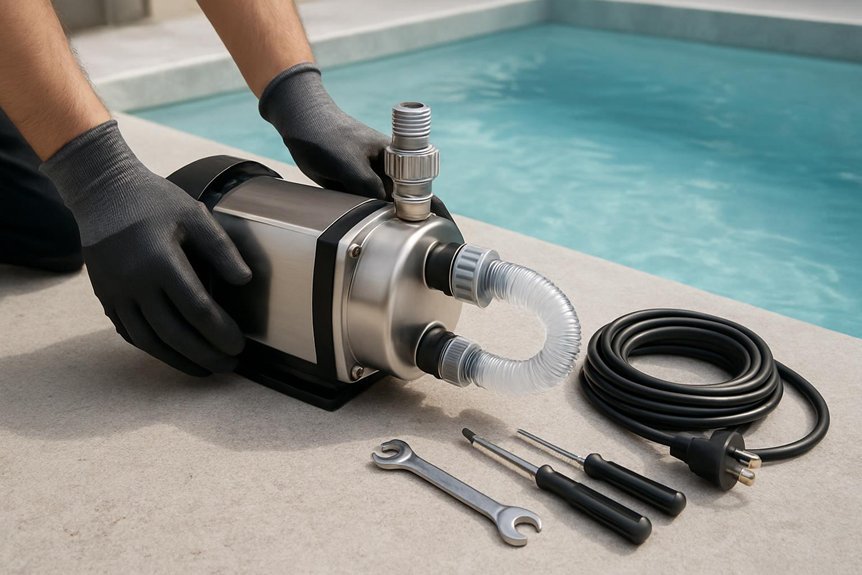
Installing the Pump and Filter System
Now you’ll position the pump and filter unit close to the tub on a stable, level surface, making sure there’s enough room for service access and ventilation. You’ll then connect the intake and return plumbing using the correct fittings and seals, double-checking for proper flow direction and leak-free joints. Finally, you’ll complete electrical and safety checks—confirming the pump is grounded, protected by a GFCI, and wired per code—before powering up for a test run.
Positioning the Pump Unit
Start by choosing a firm, level location for the pump and filter unit that’s within reach of the cold plunge’s plumbing connections and electrical supply, because proper placement affects performance, maintenance access, and noise exposure. Place the unit on a raised, vibration-dampening pad if the surface transmits sound or moisture, which reduces noise and extends component life. Keep clearances on all sides so you can remove the lid, access filter cartridges, and reach valves without strain; aim for at least 18 inches in front and 6–12 inches at the sides and rear. Position the pump where drainage or a drip tray can catch leaks, and avoid enclosed cabinets that trap heat. Finally, confirm the unit sits near a dedicated GFCI outlet to meet safety codes.
Plumbing Connections Basics
Plumbing connections are the backbone of a reliable pump and filter system, so you’ll want to approach this step methodically to guarantee proper flow, leak-free joints, and safe operation. Begin by mapping inlet and outlet paths, keeping suction lines as short and straight as possible to minimize cavitation and prime issues. Use the correct pipe material—PVC or flexible hose rated for pressure—and match diameters to the pump’s specifications to avoid restricting flow. Dry-fit fittings, then apply primer and solvent or approved clamps for a watertight seal. Install unions and service valves so you can isolate components for maintenance without draining the tub. Add a clear strainer or pre-filter on the suction side to protect the pump, and slope horizontal runs slightly toward the pump to prevent air pockets.
Electrical and Safety Checks
Having the plumbing routed and secured sets you up to focus on the electrical and safety checks that protect both people and equipment when you install the pump and filter system. First, verify the pump’s voltage and amperage match your circuit, and make sure a dedicated breaker is installed; this prevents overloads and nuisance tripping. Use a GFCI-protected circuit near the plunge, and mount the breaker or disconnect where you can reach it quickly. Ground the pump and bond all metal components to reduce shock risk, and follow local codes for conduit and cable types. Inspect wiring connections for tightness and proper strain relief, test the GFCI and run the pump briefly to listen for unusual sounds or vibrations before finalizing covers.
Making Safe Electrical Connections
Before you touch any wiring, make sure you understand the electrical requirements for your cold plunge pump and isolate the circuit at the breaker so there’s no chance of live power, because a single mistake can cause injury or damage. Check the pump’s voltage, amperage, and grounding needs on its label, and match those to your supply and conduit. Use appropriately rated cable, connectors, and a GFCI-protected circuit to reduce shock risk. Secure connections with wire nuts or crimped terminals rated for the conductor size, then enclose splices in a waterproof junction box. Tighten terminal screws to manufacturer torque specs and dress the wiring to prevent chafing. If you’re unsure about local code or complex wiring, hire a licensed electrician to complete the work safely.
Testing for Leaks and Verifying Flow Rate
Once the pump and plumbing are energized and you’ve double-checked electrical safety, you’ll move on to testing for leaks and verifying flow rate to guarantee reliable operation and water quality. Begin by filling the system to operating level, then inspect all joints, fittings, and seals while the pump runs; use a flashlight and feel for moisture, tightening fittings slightly if small drips appear. Mark any suspect areas and recheck after a short run period. To verify flow rate, temporarily route discharge into a calibrated bucket and time how long it takes to collect a known volume, or use an inline flow meter for continuous measurement. Compare results to the pump’s rated flow at your head pressure, and note deviations for troubleshooting.
Commissioning the System and Adjusting Controls
Now that you’ve confirmed there are no leaks and the pump’s delivering the expected flow, begin commissioning the system by establishing baseline settings and confirming each control responds correctly under load. Start with the temperature controller: set your target temperature range, observe the sensor readings, and cycle the chiller or heater while watching response times. Next, verify timer and scheduling functions, running them through a full cycle to guarantee start/stop commands coincide with pump operation. Check safety interlocks and high-limit cutoffs by simulating fault conditions, confirming the system shuts down safely. Calibrate any variable-speed drives so RPMs match flow demands, and fine-tune PID or proportional controls for stable temperature hold. Record final settings and labels for future reference.
Routine Maintenance and Winterizing Tips
With the system commissioned and controls behaving as expected, you should put a regular upkeep plan in place to protect performance and prolong equipment life. Inspect fittings, hoses, and electrical connections monthly, tighten loose clamps, and look for leaks or corrosion that could worsen if ignored. Clean or replace filters on schedule, and flush lines seasonally to remove buildup; good water chemistry reduces biological growth and extends pump life. Lubricate moving parts per manufacturer guidance and test shutdown and safety features after maintenance. For winterizing, fully drain the pump, open valves to prevent trapped water, and blow out residual moisture with low-pressure air. Store removable components indoors in a dry place, and cover fixed units with breathable insulation to prevent freeze damage.
FAQ
Can I Use the Pump for a Swim Spa or Only a Cold Plunge?
FAQ: Can I use a pump designed for a cold plunge in a swim spa?
Yes, a pump can be used for a swim spa if its flow rate, head, and material specifications match the requirements of the spa. Always verify the pump’s compatibility with continuous operation.
FAQ: What specifications should I check before using a pump for a swim spa?
You should check the pump’s flow rate, head, and material compatibility, as well as plumbing size. Ensuring these match the swim spa’s requirements is essential for optimal performance.
FAQ: Are there any safety precautions to consider when using a pump for a swim spa?
Yes, it’s important to follow proper electrical and mounting precautions to ensure safe operation. This includes ensuring the pump is correctly installed and meets all safety standards.
What Noise Level (Db) Should I Expect From the Pump?
What is the expected noise level range for a pump?
You can expect a noise level between 50–70 dB, which varies based on the model and installation.
What does a pump sound like at 50–60 dB?
At 50–60 dB, a pump typically produces a steady hum that is relatively quiet and manageable.
What factors can increase the noise level of a pump?
Louder pumps or poor mounting can elevate the noise level to 65–70 dB. It’s important to ensure proper installation to minimize sound.
How can I reduce pump noise?
To mitigate noise, consider isolating the pump and using vibration-mounting techniques, which can help lower the overall sound level.
Are There Eco-Friendly Pump Models With Lower Energy Consumption?
FAQs on Eco-Friendly Pump Models with Lower Energy Consumption
1. What types of eco-friendly pumps are available?
Eco-friendly pumps often feature permanent magnet motors or variable-speed drives. These technologies help reduce power consumption significantly compared to traditional pumps.
2. How do eco-friendly pumps benefit energy efficiency?
By using advanced motor technology and variable-speed operation, eco-friendly pumps consume less energy. This leads to lower energy bills while also providing quieter operation and extending the life of the pump.
3. Are there financial savings associated with using eco-friendly pumps?
Yes, switching to eco-friendly pumps can lead to substantial energy savings over time. The reduced energy consumption translates to lower utility costs, making them a cost-effective choice in the long run.
Can I Place the Pump Indoors in a Heated Room?
Can I place the pump indoors in a heated room?
Yes, you can place the pump indoors, but it’s not advisable. Doing so may lead to overheating and reduced efficiency, along with potential noise issues and humidity damage.
What precautions should I take if placing the pump indoors?
If you decide to place the pump indoors, ensure you have proper ventilation, a drip pan to catch any leaks, and thermal insulation to regulate temperature. Regular maintenance is also crucial to prevent failures.
What are the risks of overheating the pump?
Overheating can significantly reduce the pump’s efficiency and lifespan. It can also lead to operational failures and increased noise levels, impacting both performance and comfort.
Do Pumps Require Vibration Isolation Pads to Prevent Structure Noise?
Do pumps require vibration isolation pads?
Yes, pumps should be equipped with vibration isolation pads to minimize noise and prevent structure-borne vibrations.
What are the benefits of using vibration isolation pads for pumps?
Vibration isolation pads help protect both the pump and the building from excessive vibrations, leading to reduced noise levels and improved longevity of the equipment.
How do I choose the right vibration isolation pads for my pump?
Select pads that are rated for the pump’s weight and operational frequency, ensuring they are properly installed under each mounting point for maximum effectiveness.
Final Thoughts
You’ve now got the essentials to install a cold plunge pump: choose a properly sized unit, plan corrosion-resistant plumbing, secure fittings, and make safe electrical connections. After filling the system, test for leaks and confirm flow rates, then commission controls and set a maintenance schedule. With routine care and seasonal winterizing, your pump will perform reliably. If you follow these steps methodically, you’ll enjoy consistent, efficient operation and longer equipment life.